|
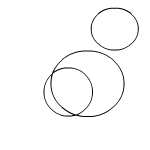
Begin by drawing three circles like so. These will form your Chomby's body and head.
|
|
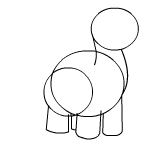
Next, draw four cylinders which will become your Chomby's legs. Join the smaller
circle (your Chomby's head) to the larger circle (the body) by drawing two curved lines
as shown here.
|
|
|
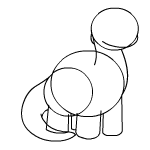
Now draw your Chomby's tail, it is easiest to just try to copy the one
shown here. You also need to add a little detail to your Chomby's face. Draw a
curved line towards the bottom of your head to form your Chomby's mouth. Then
draw a small bump where the back of the head and neck join.
|
|
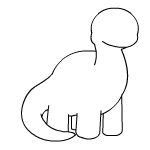
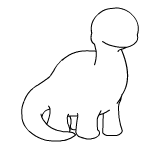
Now erase your guidelines and you should be left with something similar to this.
As you see your Chomby is starting to take shape.
|
|
|
Now add a little curviness to your Chomby's feet so they are less cylindrical.
Also erase a small amount of the line at the top of your Chomby's right leg (this
will make the chest look more life-like). Lastly draw a little line under the Chomby's
mouth to form the chin.
|
|
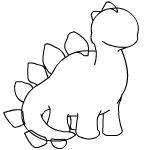
The next step is to draw on your Chomby's spikes. They are slightly irregular
shapes so it is easiest just to copy this image as closely as possible.
|
|
|
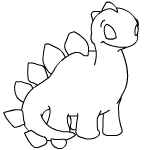
Erase a few lines where the spikes crossed the body so it looks as if the spikes
are part of the Chomby. Then draw a semi-circular shaoe for your Chomby's eye.
Add a curved line above the eye to form the eyebrow.
|
|
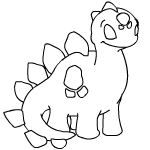
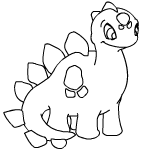
Draw on the Chomby's coloured scales on its body and forehead as shown.
|
|
|
Now add a little more detail to the eye and your Chomby is complete.
|
|
If you really want to liven up your Chomby, add a splash of colour. Don't worry if your
Chomby didn't turn out perfect first time, with a little practice you will
soon be drawing Chomby's with ease!
|

|
|


